1. Overview
1.概述
Jenkins is an open-source and easy-to-use Java-based web server often used in the development of Continuous Integration and Continuous Delivery (CI/CD) pipelines.
Jenkins是一个开源且易于使用的基于Java的网络服务器,通常用于开发持续集成和持续交付(CI/CD)管道。
In this tutorial, we’ll walk through the process for enabling HTTPS on a Jenkins server by configuring SSL.
在本教程中,我们将通过配置SSL,了解在Jenkins服务器上启用HTTPS的过程。
2. Using Jenkins SSL Configuration
2.使用Jenkins的SSL配置
To use HTTPS, we have to make changes to the internal SSL settings of our Jenkins server.
为了使用HTTPS,我们必须对Jenkins服务器的内部SSL设置进行修改。
2.1. Generate the SSL Certificate
2.1.生成SSL证书
First, we need to generate an SSL certificate and keystore. Here, we’ll use OpenSSL to create both.
首先,我们需要生成一个SSL证书和密钥库。在这里,我们将使用OpenSSL来创建这两者。
Let’s start by installing OpenSSL on our CentOS machine:
让我们先在CentOS机器上安装OpenSSL。
$ sudo yum install opensslIn the next step, we’ll generate the SSL public and private keys using the OpenSSL tool:
在下一步,我们将使用OpenSSL工具生成SSL公钥和私钥。
$ openssl req -newkey rsa:2048 -nodes -keyout key.pem -x509 -days 365 -out certificate.pem
Generating an RSA private key
.....................................+++++
..................+++++
writing new private key to 'key.pem'
Email Address []:
Here, the key.pem key and the certificate.pem self-signed certificate are generated. Next, let’s merge both of these files by converting them to a .p12 keystore:
在这里,key.pem 密钥和certificate.pem 自签名证书已经生成。接下来,让我们合并这两个文件,将它们转换为.p12 keystore。
$ openssl pkcs12 -inkey key.pem -in certificate.pem -export -out certificate.p12Importantly, we can use these two .pem files later, so we might want to save them. Let’s now import the .p12 file with keytool and convert it into a .jks keystore:
重要的是,我们以后可以使用这两个.pem文件,所以我们可能想保存它们。现在让我们用.p12文件导入keytool,并将其转换成.jks keystore。
$ keytool -importkeystore -srckeystore ./certificate.p12 -srcstoretype pkcs12 -destkeystore jenkinsserver.jks -deststoretype JKS
Entry for alias 1 successfully imported.
Import command completed:  1 entries successfully imported, 0 entries failed or cancelled
Warning:
Now, we can use jenkinsserver.jks in our Jenkins setup.
现在,我们可以在我们的Jenkins设置中使用jenkinsserver.jks。
2.2. Add JKS File to Jenkins Path
2.2.将JKS文件添加到Jenkins路径中
Importantly, we need to ensure jenkinsserver.jks is in a place where Jenkins can access it. JENKINS_HOME (commonly /var/lib/jenkins) is a good choice:
重要的是,我们需要确保jenkinsserver.jks在一个Jenkins可以访问的地方。JENKINS_HOME(通常是/var/lib/jenkins)是个不错的选择。
$ sudo cp jenkinsserver.jks /var/lib/jenkins/The /var/lib/jenkins/ path is accessible to the jenkins user by default. However, we have to change the owner of our .jks file:
/var/lib/jenkins/路径是默认为jenkins用户可访问的。然而,我们必须改变.jks文件的所有者。
$ sudo chown jenkins:jenkins /var/lib/jenkins/jenkins.jksNow, Jenkins is set to the proper keystore file for secure SSL authentication.
现在,Jenkins被设置为适当的keystore文件,用于安全的SSL认证。
2.3. Configure Jenkins for SSL Communication
2.3.为SSL通信配置Jenkins
In order to set up Jenkins with SSL, we need to use an HTTPS keystore, an HTTPS port, and a password. Let’s use the variables in the /etc/systemd/system/jenkins.service file to set each:
为了用SSL设置Jenkins,我们需要使用一个HTTPS keystore、一个HTTPS端口和一个密码。让我们使用/etc/systemd/system/jenkins.service文件中的变量来分别设置。
Environment="JENKINS_HTTPS_PORT=8443"
Environment="JENKINS_HTTPS_KEYSTORE=/var/lib/jenkins/jenkinsserver.jks"
Environment="JENKINS_HTTPS_KEYSTORE_PASSWORD=baeldung"
At this point, HTTPS is set up in Jenkins.
在这一点上,HTTPS已经在Jenkins中设置好了。
2.4. Restart the Jenkins Service
2.4.重新启动Jenkins服务
So far, we’ve made all the changes to the configuration. To apply them, we reload the daemon and restart Jenkins:
到目前为止,我们已经对配置进行了所有的修改。为了应用它们,我们重新加载守护进程并重新启动Jenkins。
$ sudo systemctl daemon-reload
$ sudo systemctl restart jenkins.service
Now, our SSL certificate is active for the Jenkins server. Hence, HTTPS is up and running, securing our data.
现在,我们的SSL证书已经激活用于Jenkins服务器。因此,HTTPS已经启动并运行,保证了我们的数据安全。
2.5. Verifications of Jenkins Server
2.5.对Jenkins服务器的验证
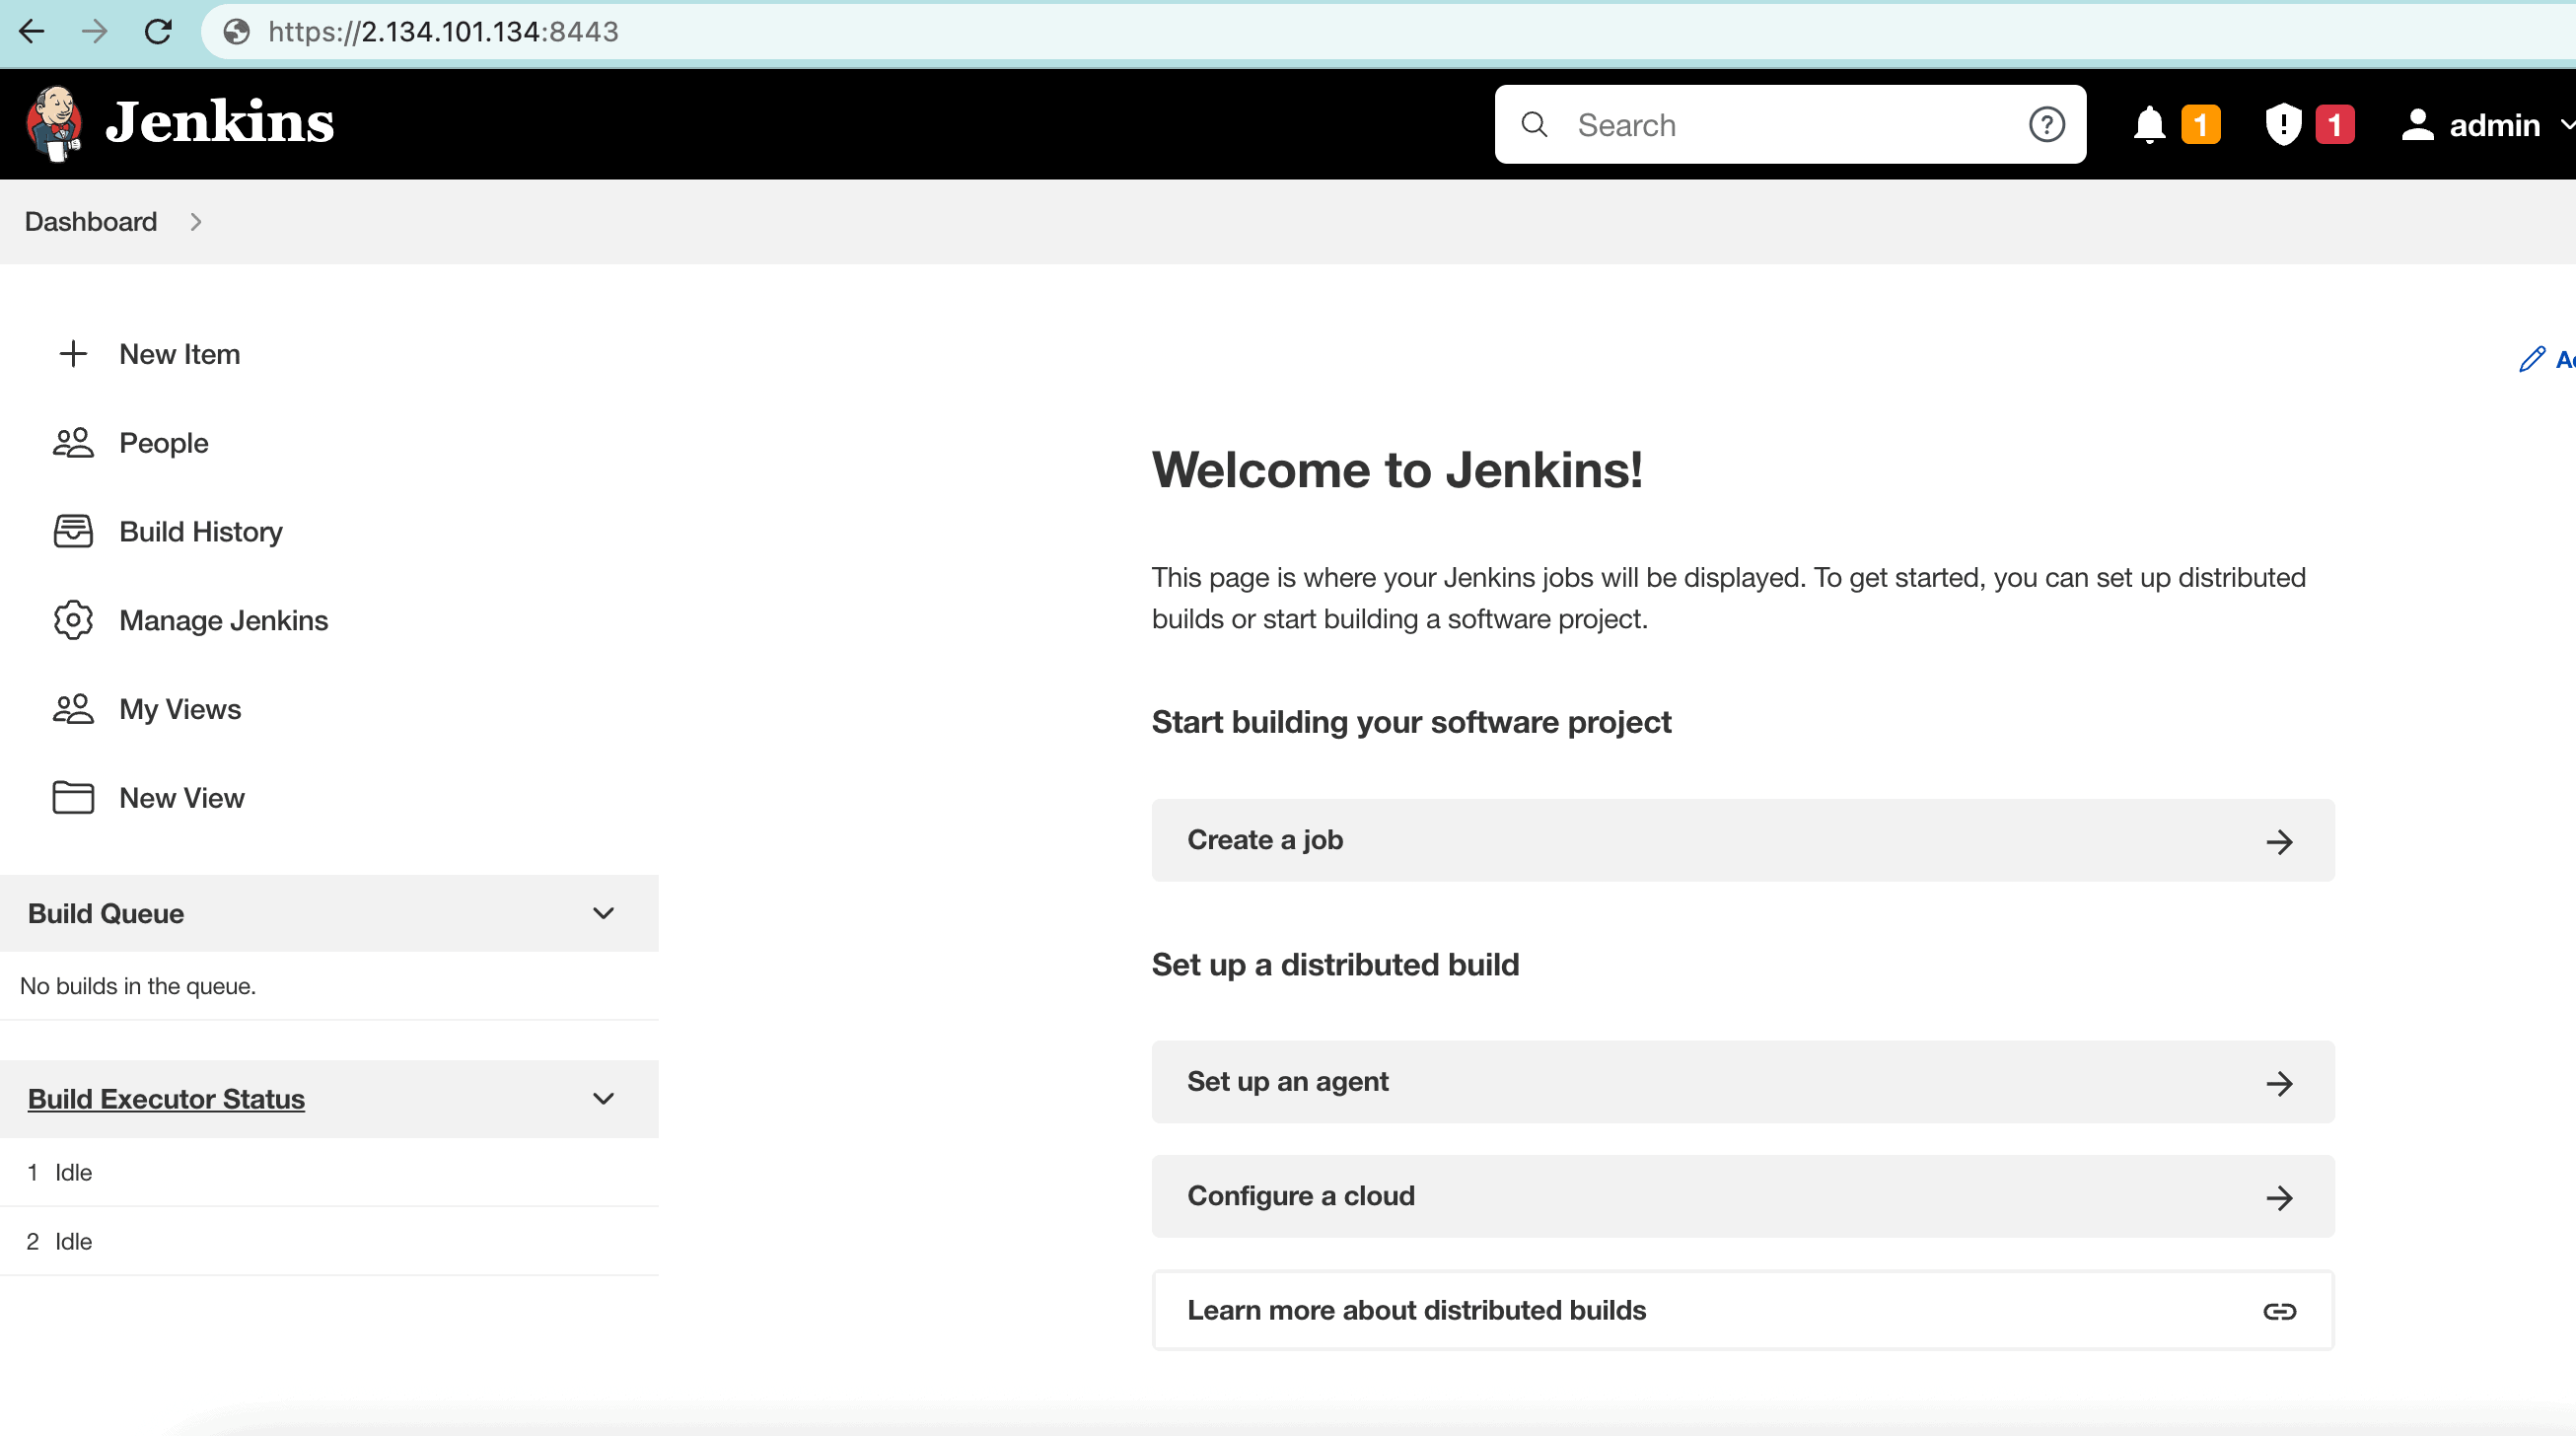
Of course, Jenkins is now accessible over both HTTP and HTTPS. To illustrate, let’s access the Jenkins server with an HTTPS port:
当然,Jenkins现在可以通过HTTP和HTTPS访问。为了说明问题,让我们用HTTPS端口访问Jenkins服务器。
We can see that the Jenkins server runs on the 8443 port with HTTPS, secured by SSL.
我们可以看到,Jenkins服务器运行在8443端口,采用HTTPS,由SSL保障。
3. Using Reverse Proxy
3.使用反向代理
We can also run a reverse proxy server in front of the main Jenkins server to increase security. In addition, running Jenkins behind HAProxy, for example, provides a more user-friendly URL. Proxies are a type of firewall that further protect access to backend servers.
我们也可以在主Jenkins服务器前面运行一个反向代理服务器以提高安全性。此外,在HAProxy后面运行Jenkins,例如,提供一个更友好的URL。代理是一种防火墙,进一步保护对后端服务器的访问。
We can run HAProxy, Nginx, Apache, or Squid as our proxy server. Here, we use HAProxy as a relatively standard choice.
我们可以运行HAProxy、Nginx、Apache或Squid作为我们的代理服务器。在这里,我们使用HAProxy作为一个相对标准的选择。
3.1. Install and Configure HAProxy
3.1.安装和配置HAProxy
Using HAProxy, we can redirect the requests to Jenkins. Let’s install HAProxy on a Linux machine:
使用HAProxy,我们可以将这些请求重定向到Jenkins。让我们在一台Linux机器上安装HAProxy。
$ yum install haproxyNext, let’s change a few default settings. First, we’ll create a frontend node that listens to all connections:
接下来,让我们改变一些默认设置。首先,我们将创建一个前台节点,监听所有的连接。
frontend http-in
    bind *:80
    bind *:443 ssl crt /etc/haproxy/haproxy.pem
    mode http
    use_backend jenkins if { path_beg / }
Here, redirects go to the Jenkins backend via use_backend. Of course, we have to add a Jenkins backend node in the configuration so that HAProxy can forward properly:
在这里,重定向通过use_backend到Jenkins的后端。当然,我们必须在配置中添加一个Jenkins后端节点,这样HAProxy才能正常转发。
backend jenkins
    server jenkins1 127.0.0.1:8080
Above, we’ve used the haproxy.pem file, which is easy to create:
上面,我们使用了haproxy.pem文件,这很容易创建。
$ cat certificate.pem key.pem > haproxy.pemHere, we combined the certificate.pem and key.pem from earlier to generate the haproxy.pem file. Finally, let’s reload the daemon and restart the haproxy service:
这里,我们把前面的certificate.pem和key.pem结合起来,生成haproxy.pem文件。最后,让我们重新加载守护进程并重启haproxy服务。
$ sudo systemctl daemon-reload
$ sudo systemctl restart haproxy
At this point, SSL should be available on the Jenkins server via HAProxy.
在这一点上,SSL应该是可用的在Jenkins服务器上通过HAProxy。
3.2. Verification
3.2.验证
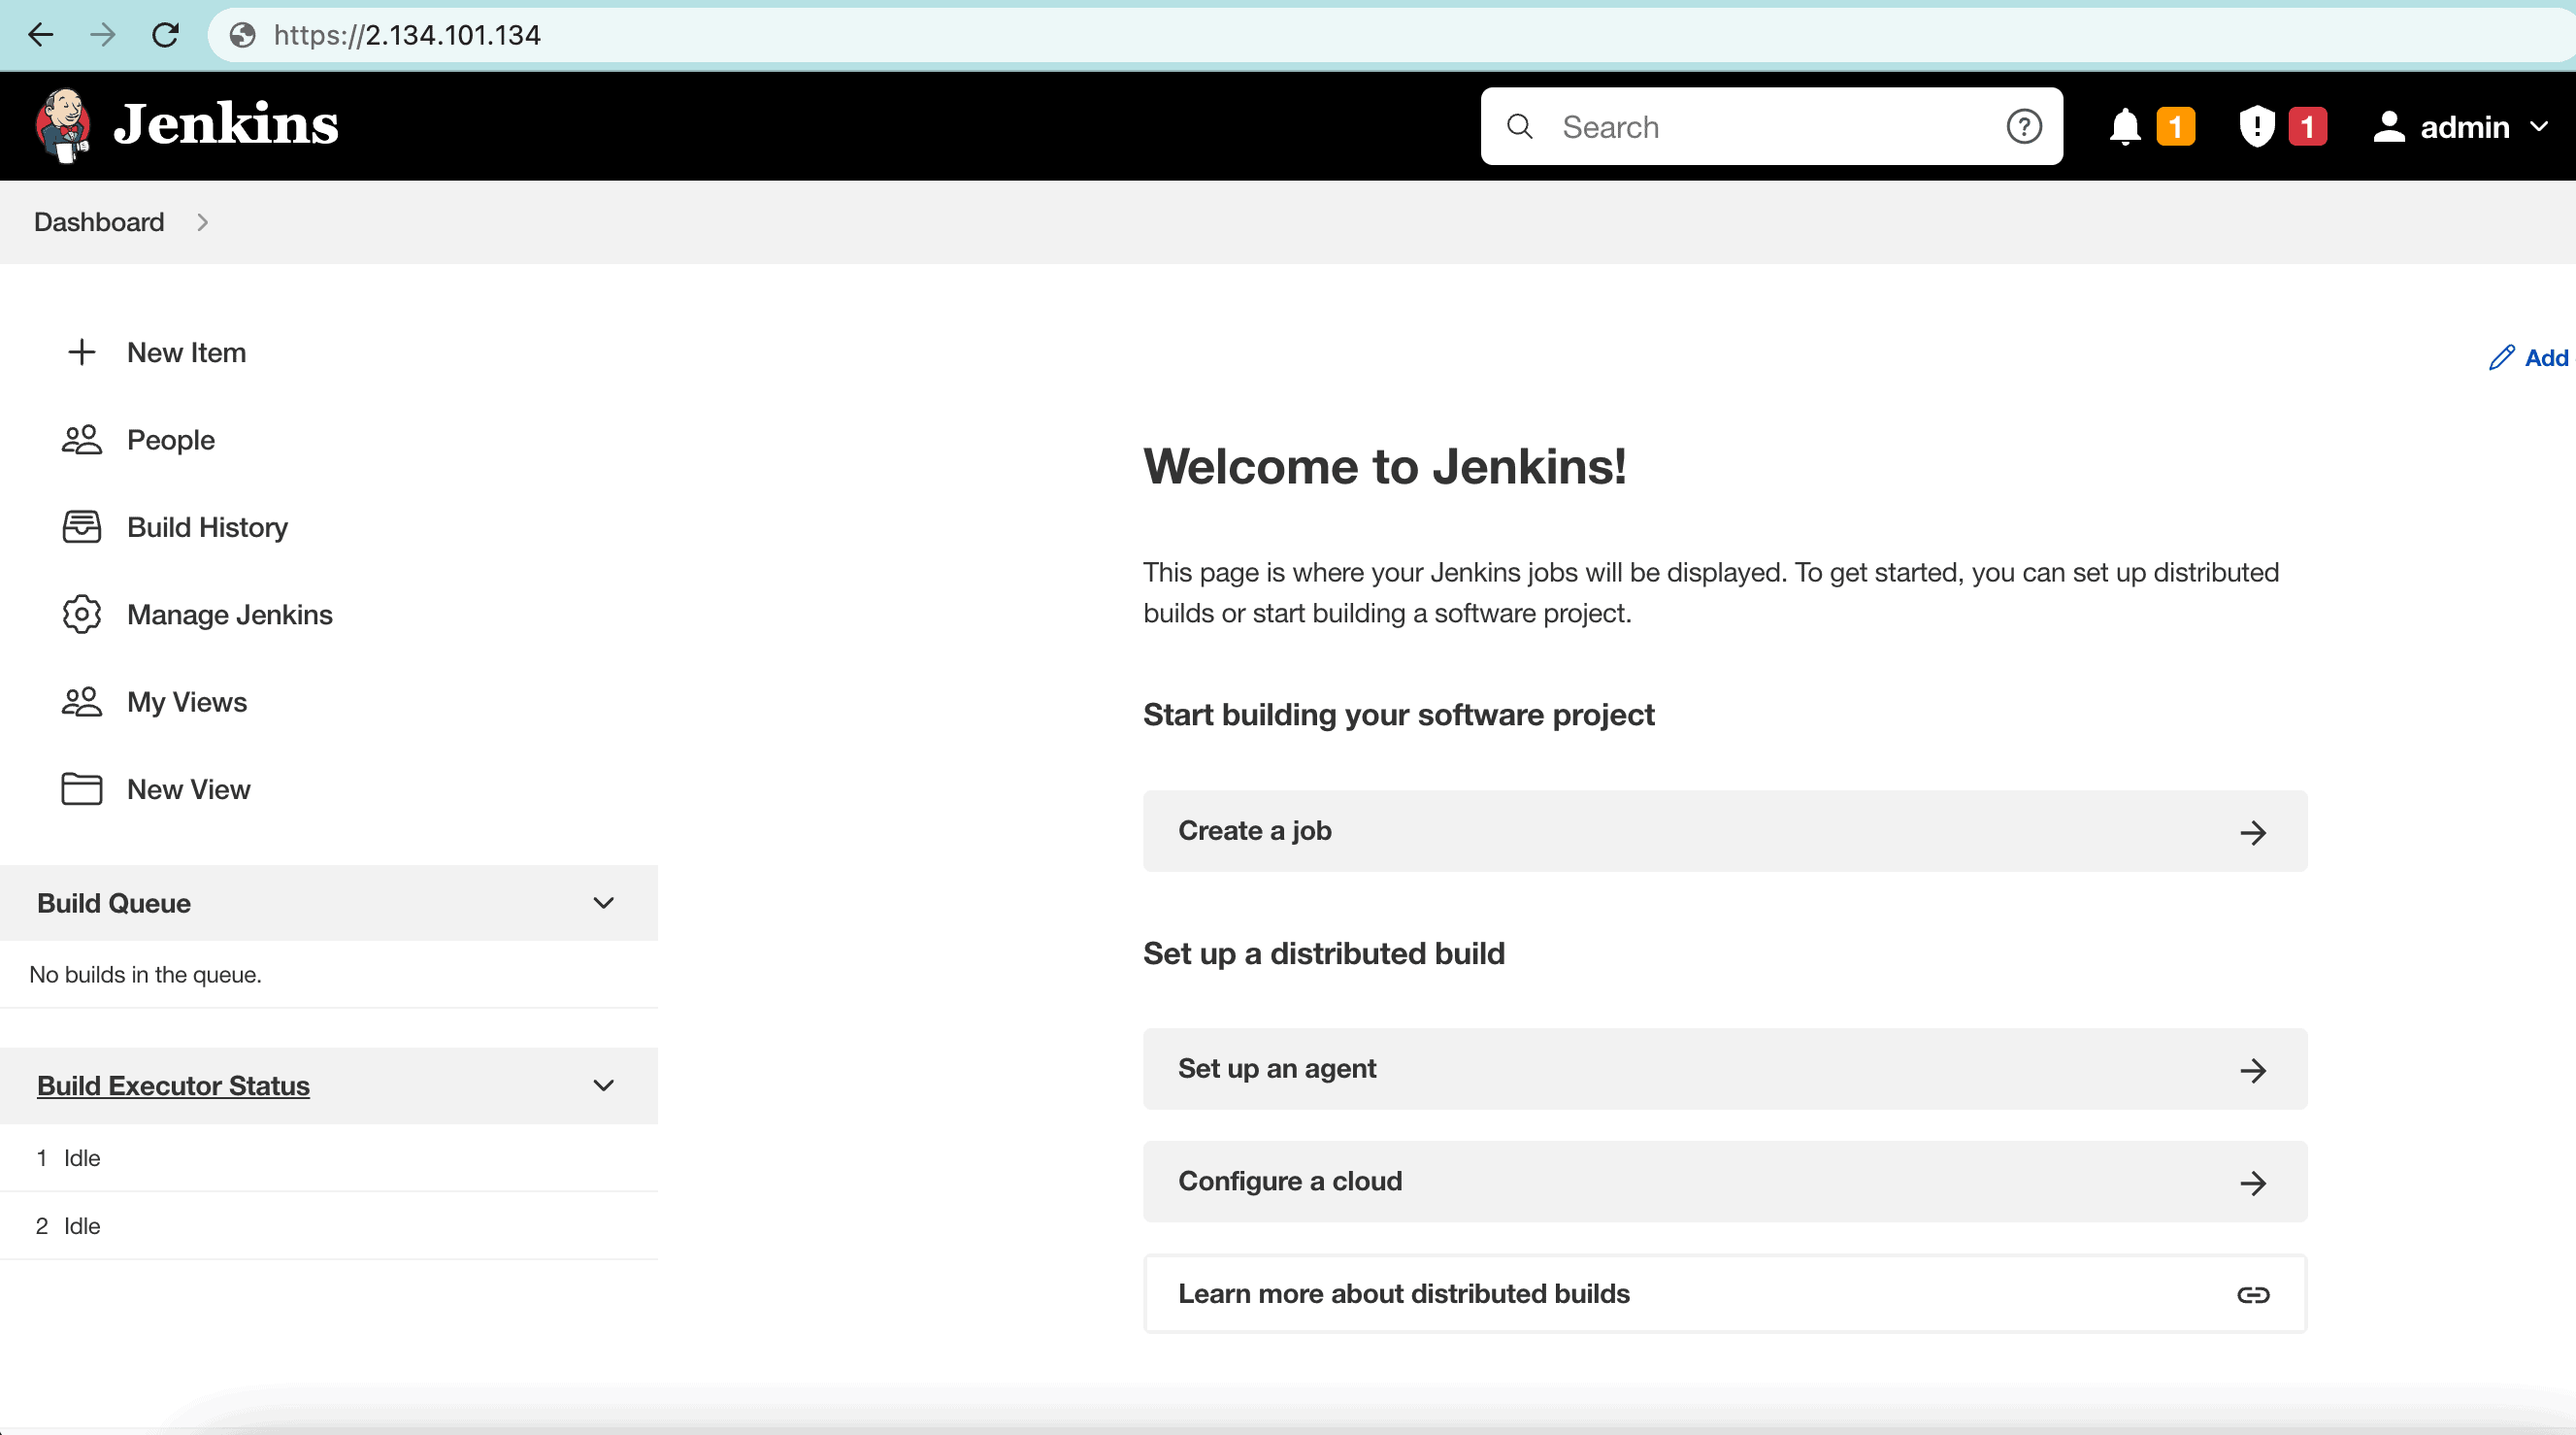
So far, HAProxy should be up and running, redirecting to Jenkins. To illustrate, let’s access the Jenkins server and verify the HTTPS connection:
到目前为止,HAProxy应该已经启动并运行,重定向到Jenkins。为了说明这一点,让我们访问Jenkins服务器并验证HTTPS连接。
As we can see, Jenkins is using HTTPS for secure access without any custom ports.
我们可以看到,Jenkins使用HTTPS进行安全访问,没有任何自定义端口。
4. Conclusion
4.总结
In this article, we followed the steps to enable SSL security on a Jenkins server. Initially, we learned how to configure the HTTPS settings of Jenkins itself. Finally, to secure the SSL connections further, we added a reverse proxy server, using Jenkins as the backend.
在这篇文章中,我们按照步骤在Jenkins服务器上启用SSL安全。最初,我们学习了如何配置Jenkins本身的HTTPS设置。最后,为了进一步保证SSL连接的安全,我们添加了一个反向代理服务器,使用Jenkins作为后端。

